How to Connect n8n to Any API (No Code Required)
n8n has 400+ native integrations — but the moment you need an endpoint that's not in the node, or want to call an internal service, or integrate with a niche tool, you reach for the HTTP Request node. It calls any REST API with any authentication method, handles pagination automatically, and passes the response directly to the next node. This guide covers every configuration option you'll actually use: how to read API docs and translate them to n8n fields, all auth types with real examples, pagination modes, error handling, and five complete API integrations you can copy and adapt.
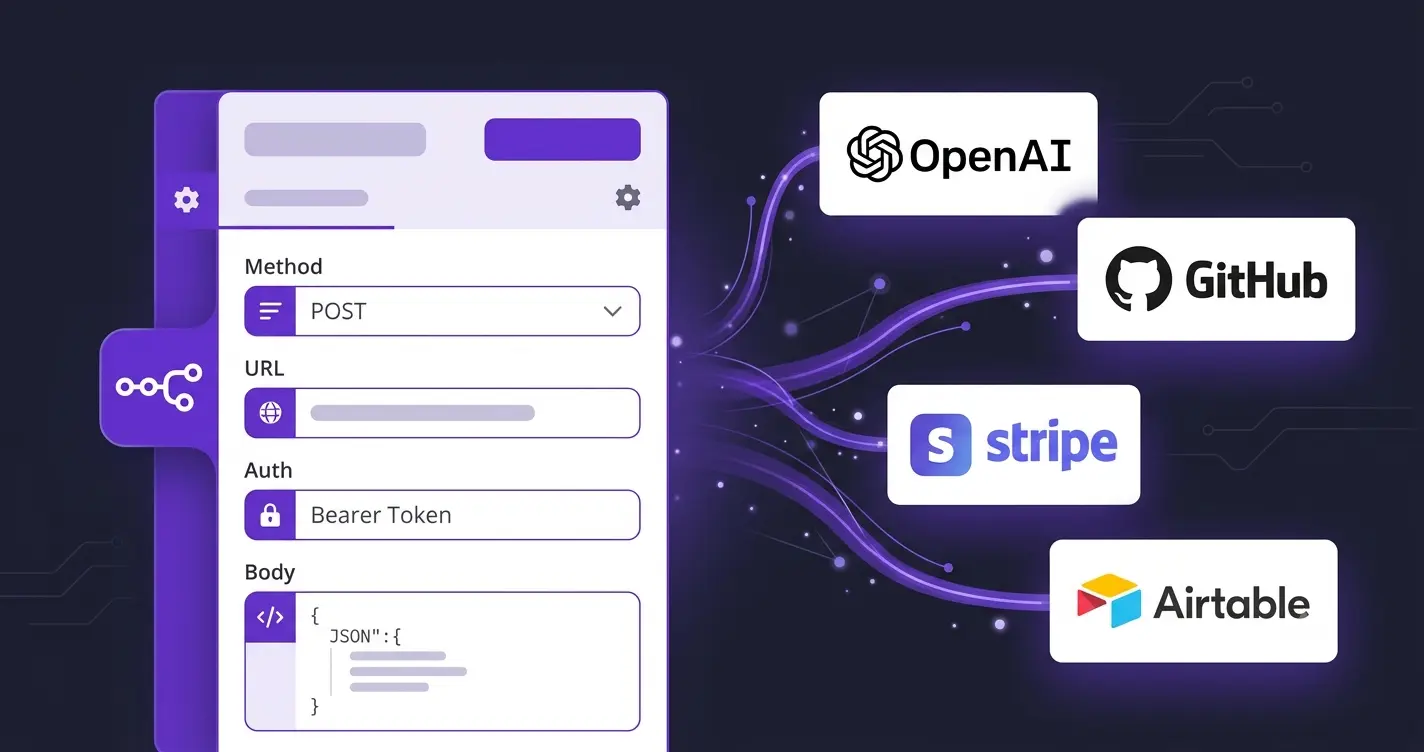
What this guide covers
- What the HTTP Request node does (and when to use it)
- The fastest way: cURL import from API docs
- Reading API documentation → translating to n8n fields
- All authentication types — which to use and exact configuration
- 5 real API integrations with full node configs
- Handling pagination — all 3 modes
- Working with the response — extracting nested data
- Error handling and rate limits
- FAQ
What the HTTP Request node does
The HTTP Request node is a universal API client built into n8n. You give it a URL, a method (GET, POST, PUT, PATCH, DELETE), authentication credentials, and optional headers or a request body — and it calls the API and outputs the response as JSON that every downstream node can use.
Use it when: the API you need doesn't have a native n8n node, the native node is missing a specific endpoint, you're calling an internal microservice, or you need to call a webhook on another system. In practice, the HTTP Request node handles roughly 30–40% of all API calls in real production workflows — native nodes cover the common operations, but edge cases and custom endpoints always end up here.
One thing it does that most people miss: you can chain multiple HTTP Request nodes in a single workflow and pass data between them. The output of the first API call (say, a customer ID from a lookup) goes directly into the URL or body of the second call. No intermediate storage, no code needed.
The fastest way: cURL import
Every API documentation page has cURL examples — the one-line shell commands showing exactly how to call each endpoint. n8n has an "Import cURL" button in the HTTP Request node that reads a cURL command and fills in the URL, method, headers, and body automatically. This cuts configuration time from 5 minutes to 30 seconds.
Take this example from OpenAI's documentation:
curl https://api.openai.com/v1/chat/completions \
  -H "Content-Type: application/json" \
  -H "Authorization: Bearer $OPENAI_API_KEY" \
  -d '{
    "model": "gpt-4o",
    "messages": [{"role": "user", "content": "Hello"}]
  }'
Copy that, open an HTTP Request node, click Import cURL (the small link at the top of the node panel), paste it, and n8n fills: Method = POST, URL = https://api.openai.com/v1/chat/completions, Headers = Content-Type and Authorization, Body = the JSON payload. You then replace the hardcoded API key value with a credential reference — and the node is ready.
When cURL import handles auth for you: If the cURL command includes -H "Authorization: Bearer YOUR_KEY", n8n imports it as a static header. That's fine for testing, but before activating the workflow, move the token to an n8n credential (Header Auth type) so it's stored securely and not visible in the node configuration.
Reading API documentation → translating to n8n fields
The skill that makes API integration fast isn't knowing n8n deeply — it's knowing how to read an API reference and map it to the right node fields. Most API docs follow the same structure. Here's the translation:
| What you see in API docs | Where it goes in n8n |
|---|---|
| GET / POST / PUT / DELETE before the endpoint path | Method dropdown in HTTP Request node |
Endpoint path e.g. /v1/customers/{id} | URL field — replace {id} with {{ $json.customer_id }} |
Query parameters e.g. ?limit=50&status=active | Query Parameters section — add as key/value pairs |
Request headers e.g. X-API-Key: abc123 | Headers section or Auth credential |
| Request body (JSON) | Body → Content Type: JSON → add fields or use Raw JSON mode |
| Request body (form-data) | Body → Content Type: Form-Data |
| Required vs optional fields | Required fields must be present; optional can be skipped or left empty |
| Response schema — what the API returns | Shows you what $json contains after the node — use these field names in downstream nodes |
Path parameters like {customer_id} in the URL go directly into the URL field as n8n expressions: https://api.example.com/v1/customers/{{ $json.customer_id }}. The value gets substituted at runtime from whatever the previous node returned. This is how you chain API calls — first call gets the ID, second call uses it.
Authentication types — which to use
In the HTTP Request node, open the Authentication section and select the credential type. n8n stores credentials separately from workflows, so your API keys never appear in the node configuration — they're injected at runtime.
No Auth
For public APIs that don't require authentication. Set the URL and method — no credential needed.
Header Auth
Most common for API keys. Create a credential with Name = Authorization and Value = Bearer YOUR_TOKEN, or Name = X-API-Key and Value = the key itself.
Query Parameter Auth
For APIs that pass the key in the URL: ?api_key=abc123. Create a credential with the parameter name and value — n8n appends it to every request URL automatically.
Basic Auth
Username + password encoded as Base64. The API usually shows this as -u username:password in cURL. Some APIs use the API key as the username with an empty password.
OAuth2
For APIs that require token refresh. n8n handles the refresh cycle automatically — you authorize once and n8n keeps the token alive. Uses the built-in OAuth2 credential type.
Predefined Credential
When n8n has a native integration, you can reuse its credential directly in the HTTP Request node. Useful when the native node doesn't expose the endpoint you need.
Never hardcode credentials in the URL or body fields. Even though it works, the key becomes visible in the execution log and workflow export. Always use n8n credentials — they're stored encrypted and never appear in logs.
Build Real n8n API Workflows — Step by Step
The LearnForge AI Apps course covers n8n from first workflow to production systems — API integration, AI agents, Notion, Slack, and real business automations. Module 1 is free.
Start Free Module →5 real API integrations with full node configs
OpenAI API — Generate text from any trigger
Auth: Bearer token (Header Auth) · Method: POSTOpenAI uses a Bearer token passed in the Authorization header. The request body is JSON with the model name and a messages array. This is the pattern that also works for Anthropic (Claude), Mistral, Groq, and any OpenAI-compatible API — the structure is identical, you just change the base URL and the model name.
| Field | Value |
|---|---|
| Method | POST |
| URL | https://api.openai.com/v1/chat/completions |
| Auth | Header Auth — Name: Authorization, Value: Bearer {{ $credentials.openai_key }} |
| Body type | JSON (Raw) |
| Body | {"model":"gpt-4o","messages":[{"role":"user","content":"{{ $json.user_message }}"}]} |
| Response field | $json.choices[0].message.content |
The response from OpenAI is nested: choices[0].message.content is the generated text. Add a Set node after the HTTP Request and map {{ $json.choices[0].message.content }} to a cleaner field name like ai_response before passing it to downstream nodes.
GitHub API — List repositories or create issues
Auth: Bearer token · Method: GET / POST · Pagination: Link headerGitHub's REST API uses a Personal Access Token (PAT) sent as a Bearer token. It's one of the cleaner APIs to work with in n8n because the error messages are readable and the response structure is consistent. The same credential covers all GitHub endpoints — repos, issues, pull requests, actions — so configure it once and reuse it across workflows.
| Field | Value (list repos example) |
|---|---|
| Method | GET |
| URL | https://api.github.com/user/repos |
| Auth | Header Auth — Name: Authorization, Value: Bearer YOUR_PAT |
| Headers | X-GitHub-Api-Version: 2022-11-28 (required by GitHub) |
| Query params | per_page=100, sort=updated |
| Pagination | URL — reads the next URL from the Link response header |
GitHub paginates via a Link header in the response — not a field in the JSON body. n8n's pagination mode "By Response Header Parameter" with Link as the header name and next as the relation type handles this automatically. Without pagination configured, you'll only ever get the first 30 results.
Airtable API — Create and update records
Auth: Bearer token · Method: POST / PATCH · Pagination: offset cursorAirtable has a native n8n node, but it sometimes lags behind Airtable's API capabilities — the HTTP Request approach gives you access to every endpoint immediately. The base URL includes your base ID and table name, both visible in the Airtable web URL. Field names in the request body must exactly match the column names in your Airtable base (case-sensitive).
| Field | Value (create record) |
|---|---|
| Method | POST |
| URL | https://api.airtable.com/v0/YOUR_BASE_ID/YOUR_TABLE_NAME |
| Auth | Header Auth — Name: Authorization, Value: Bearer YOUR_PAT |
| Body (JSON) | {"fields":{"Name":"{{ $json.name }}","Email":"{{ $json.email }}","Status":"New"}} |
| Pagination (list) | Cursor — reads offset from response body, passes as offset query param |
When reading records from Airtable (GET), the response includes an offset field when there are more records. Enable cursor-based pagination in n8n with the cursor field set to offset and the parameter name also set to offset — n8n loops through all pages automatically and merges them.
Stripe API — Create customers, list charges
Auth: Basic Auth (API key as username) · Form-encoded bodyStripe is the most common source of confusion for n8n API beginners — not because it's complex, but because it uses two things people don't expect: Basic Auth (not Bearer), and form-encoded request bodies (not JSON). The Stripe secret key goes in the username field of a Basic Auth credential with an empty password. The request body uses Content-Type: application/x-www-form-urlencoded, not JSON.
| Field | Value (create customer) |
|---|---|
| Method | POST |
| URL | https://api.stripe.com/v1/customers |
| Auth | Basic Auth — Username: sk_live_YOUR_KEY, Password: (empty) |
| Body type | Form-Data (not JSON) |
| Body fields | email = {{ $json.email }}, name = {{ $json.name }} |
| Response field | $json.id — the new Stripe customer ID |
Use the test key (sk_test_...) while building and testing. The live key (sk_live_...) only in production. Both work identically in the HTTP Request node — just store them as separate credentials and switch the credential reference before activating in production.
Internal / Custom API — Call your own backend or microservice
Auth: custom header or no auth · Works on local network and private IPsIf you self-host n8n, the HTTP Request node can call any service on the same network — your internal REST API, a local microservice, a Docker container, or a service running on localhost. This is something Zapier and n8n Cloud can't do — they can only reach publicly accessible URLs. Self-hosted n8n on your own infrastructure removes that limitation entirely.
The configuration is the simplest of all five examples. No authentication setup (or a simple Header Auth with a shared secret your backend checks), the URL is the private IP or hostname, and the body is whatever JSON your API expects. This pattern is how teams integrate n8n into their existing engineering stack: n8n triggers business logic on their own servers, which then write to their own databases — and n8n never needs direct database access.
| Field | Value |
|---|---|
| Method | POST |
| URL | http://192.168.1.50:3000/api/process-lead (private IP) |
| Auth | Header Auth — Name: X-Internal-Key, Value: shared secret |
| Body (JSON) | Any structure your API expects |
| Timeout | Set to 30,000ms (30s) under Options if your service can be slow |
Handling pagination — all 3 modes
Most APIs don't return all results in one response — they paginate. Without pagination configured in n8n, you get the first page only (typically 10–100 records). The HTTP Request node has built-in pagination under Options → Pagination that handles this automatically, merging all pages into a single output array. No looping, no extra nodes.
Mode 1: Offset / Limit
Used by APIs that accept offset and limit query parameters. n8n sends the first request with offset=0&limit=100, then increments offset by the limit value until the response returns fewer records than the limit (meaning you've reached the last page).
Config: Pagination Type = Offset, Limit = 100, Offset Parameter Name = offset, Limit Parameter Name = limit. Used by: many internal APIs, older REST services.
Mode 2: Cursor-based
Used by modern APIs (Stripe, Airtable, Notion, Twitter/X). The response includes a cursor token — next_cursor, offset, or page_token — that n8n reads from the response and uses as a query parameter in the next request. Stops when no cursor is returned.
Config: Pagination Type = Cursor, Cursor Parameter = the field name in the response (e.g. next_cursor), Request Parameter = what query param to pass it as. Used by: Stripe (starting_after), Airtable (offset), Notion (start_cursor).
Mode 3: URL-based (Link header)
Used by GitHub and some other APIs. The response includes a Link header containing the full URL of the next page. n8n reads that URL and calls it directly, continuing until no next relation is found in the Link header.
Config: Pagination Type = By Response Header Parameter, Header Name = Link, Relation = next. Used by: GitHub REST API, GitLab, some FHIR APIs.
Working with the response — extracting nested data
The HTTP Request node outputs the full API response as $json. When the API returns a flat object, the fields are immediately accessible: {{ $json.id }}, {{ $json.email }}. When the API wraps the data in a container — which is most of the time — you need to go deeper.
OpenAI returns { "choices": [{ "message": { "content": "..." } }] } — the text you want is at {{ $json.choices[0].message.content }}. Stripe returns customer data nested inside a data array when listing. GitHub wraps repository data in an array at the top level. The pattern for all of these: add a Set node immediately after the HTTP Request node and map the nested fields to clean, flat field names that the rest of your workflow can use without repeated deep-path expressions.
When the response is an array (GitHub repo list, Airtable records), n8n automatically splits it into individual items — each array element becomes a separate item in the workflow output. You don't need to loop manually. If the array is nested inside a wrapper (e.g. { "records": [...] }), open the HTTP Request node's Options section and set Output Format → Items from Array with the field path set to records. n8n will unpack the nested array into individual items automatically.
Error handling and rate limits
By default, any non-2xx HTTP response (400, 401, 403, 404, 429, 500) causes the HTTP Request node to throw an error and stop the workflow. For workflows that run on incoming data — where one bad record shouldn't kill the whole run — this is the wrong behavior. Fix it with two settings in the node options.
First: in the HTTP Request node, under the three-dot menu → Settings, enable Continue on Fail. When this is on, error responses pass through as data instead of stopping the workflow. The response will include a statusCode field. An IF node after the HTTP Request can check {{ $json.statusCode }} and route errors to a separate branch — log them to a Google Sheet, send a Slack alert, or skip the item entirely.
Second: enable Retry on Fail in the same Settings menu. Set Max Tries to 3 and Wait Between Tries to 2000ms (2 seconds). This handles transient errors — a momentary API timeout or a 500 from an overloaded server — without any manual intervention. For rate limit errors (429), the standard retry delay of 2 seconds is often not enough. Most APIs that return 429 include a Retry-After header telling you how long to wait. Add a Wait node (set to 60 seconds) on the 429 branch before looping back to retry.
For batch processing: If you're calling an API for each item in a list (e.g. enrich 500 contacts), rate limits become a real constraint. Add a Wait node (1–2 seconds) between the HTTP Request and the next iteration. Combined with SplitInBatches set to a batch size of 10, this gives you 5–10 requests per second — within the free tier of most enrichment APIs.
Frequently Asked Questions
How do I connect n8n to an API?
Use the HTTP Request node. Set the Method, paste the API endpoint URL, configure authentication in the Auth section, and add any required headers or body. The fastest approach: copy the cURL command from the API's documentation, click "Import cURL" in the HTTP Request node, and n8n fills URL, method, headers, and body automatically.
What authentication does n8n support for API calls?
No Auth, Basic Auth (username/password), Header Auth (API keys, Bearer tokens), Query Parameter Auth (key in URL), OAuth1, OAuth2 with automatic token refresh, Digest Auth, and Predefined Credential types for 400+ natively supported services. Most modern REST APIs use Header Auth (for API keys) or OAuth2 (for services like Google, Notion, Salesforce).
How does n8n handle API pagination?
The HTTP Request node has built-in pagination under Options → Pagination. Three modes: Offset (increments an offset parameter), Cursor-based (reads a cursor from the response and passes it to the next request), and URL-based (follows the next URL from a Link header). All modes merge results from all pages into a single output array automatically — no looping workflow needed.
How do I send a POST request with a JSON body in n8n?
Set Method to POST, enter the URL, set Body Content Type to JSON, and add fields as key-value pairs or switch to Raw JSON mode and paste your JSON. Reference data from previous nodes with expressions like {{ $json.email }}. n8n sets Content-Type: application/json automatically when you use the JSON body type.
Can n8n connect to APIs without a native integration?
Yes — that's exactly what the HTTP Request node does. Any REST API can be called from n8n regardless of whether a native node exists. The only scenarios where it won't work: APIs requiring browser-based JavaScript, WebSocket connections, or non-HTTP protocols like gRPC. For everything else — including internal services and private network APIs (when self-hosting) — the HTTP Request node handles it.
How do I handle API errors in n8n?
Enable "Continue on Fail" in the node settings — error responses pass through as data with a statusCode field instead of stopping the workflow. Add an IF node to check the status code and branch accordingly. Enable "Retry on Fail" (3 retries, 2s delay) for transient errors. For rate limit 429 errors, add a Wait node (60 seconds) before retrying, since most APIs require longer than the default retry delay.
Related Articles
n8n + Notion: How to Build a Full CRM Automation for Free
Exact Notion database schema, 6 automation workflows — lead capture, enrichment, follow-ups, deal pipeline.
Automate Slack Notifications with n8n — 7 Practical Examples
Deploy alerts, lead pings, error monitoring, approval buttons — exact node setups.
n8n Automation: 15 Real-World Examples That Save Hours Every Week
CRM syncs, AI email routing, invoice processing — exact node setups for 15 production workflows.
Ready to Connect n8n to Your APIs?
The LearnForge AI Apps course teaches you to build real n8n automations — API integrations, AI agents, business workflows — from zero to production. Start with the free module today.
Start Free Module →